Get In Touch
Katerina Baltouna,
kb@projection-mapping.eu
Back

Step 05

Surface Analysis for Projection Mapping MadMapper.

Projection Mapping Setup (MadMapper)
Purchase and Learning of MadMapper


For the implementation of the projection mapping process, the software MadMapper was selected, as it is a specialized tool for mapping visual content onto architectural surfaces. Within the context of this project, the purchase of the full version of the software was considered necessary, since the available trial (beta) version presented significant functional limitations, such as the inability to export and project the final content. Acquiring the full license enabled the utilization of all the software’s capabilities and ensured the smooth implementation of the projection mapping process.

At the same time, in order to effectively learn the software and become familiar with its functions, an educational course was attended through the Udemy platform. Through these lessons, the fundamental principles of projection mapping were understood, along with the individual functions of MadMapper, such as the creation of surfaces, image warping, content management, and the adaptation of the projection to the space.

Implementation of Projection Mapping in MadMapper


The final stage of the project implementation was carried out using the software MadMapper, which is a specialized tool for the application of projection mapping techniques.

MadMapper enables the precise mapping of digital visual content onto real surfaces, taking into account the geometry and morphological characteristics of the space.


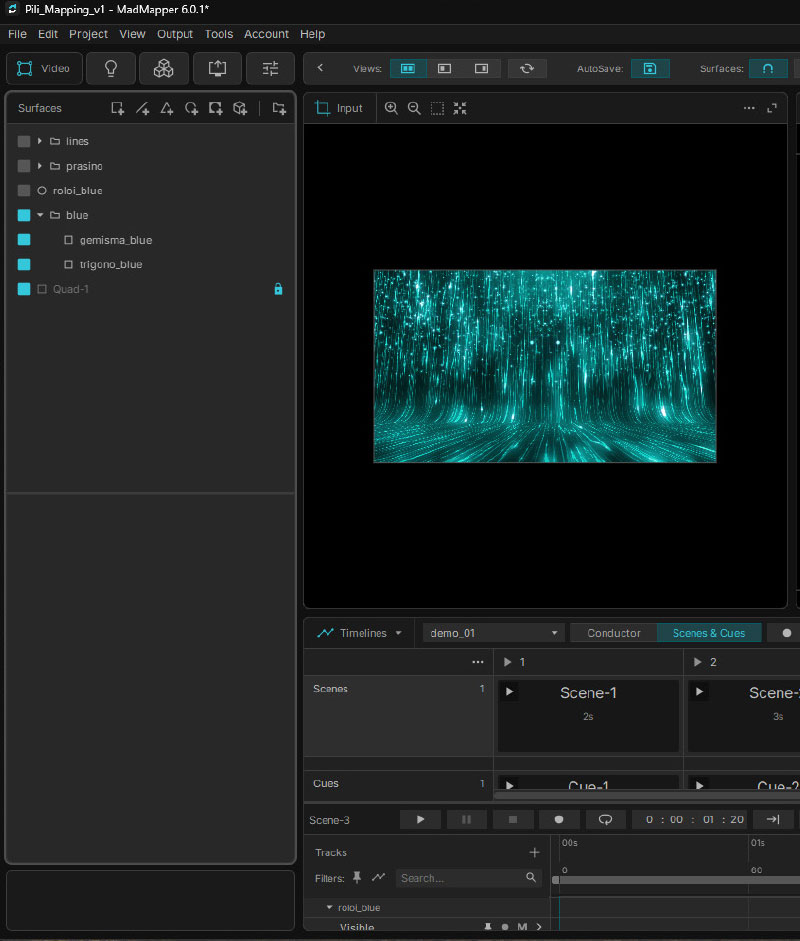
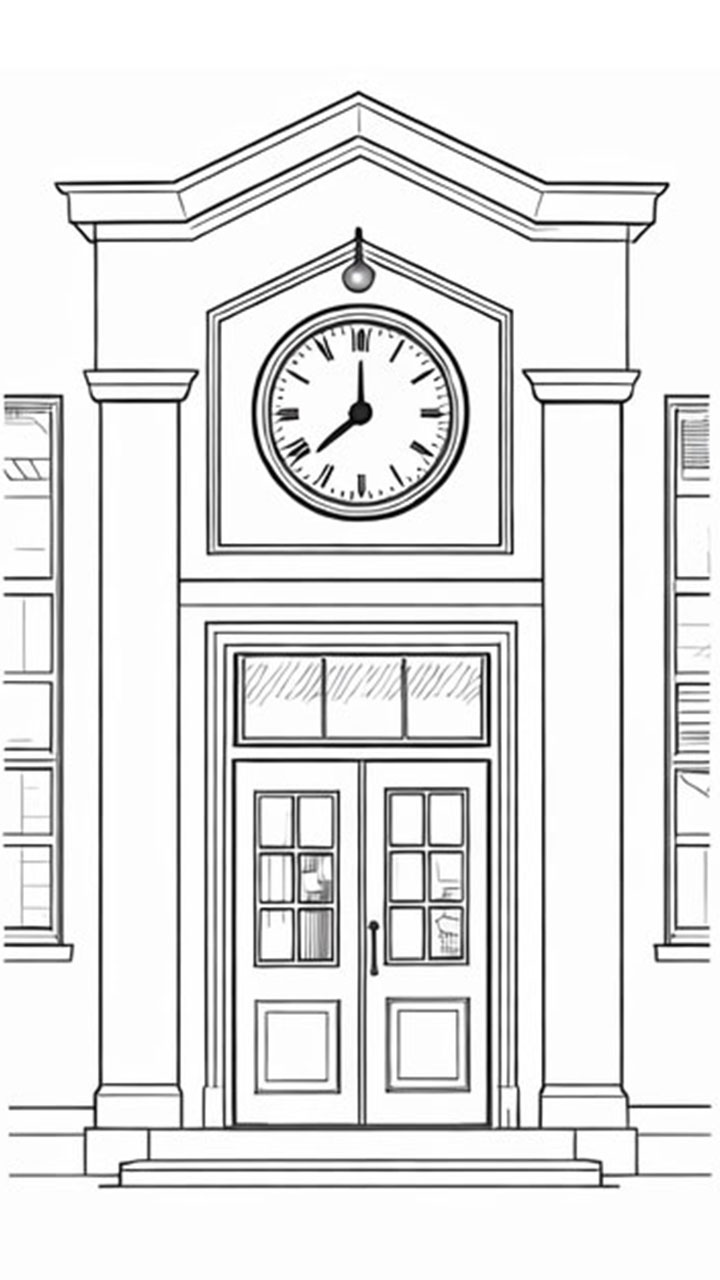
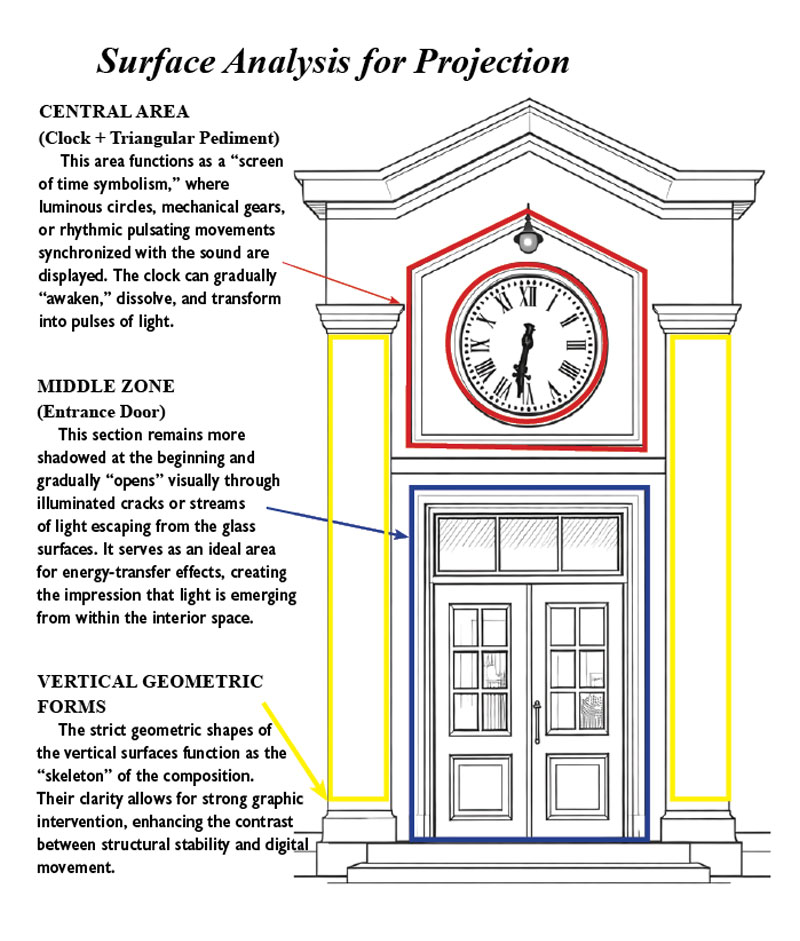
Initially, within the MadMapper environment, the projection surface was organized through the use of surface creation and warping tools. The mapping process was based on the actual geometry of the façade, as it was documented photographically and verified through test projections within the space. The process included the division of the architectural surface into individual sections (pediment, clock, main entrance, side openings), allowing the accurate alignment of the digital content with the morphological elements of the gateway of the interior courtyard.

Adobe library

White Surfaces.

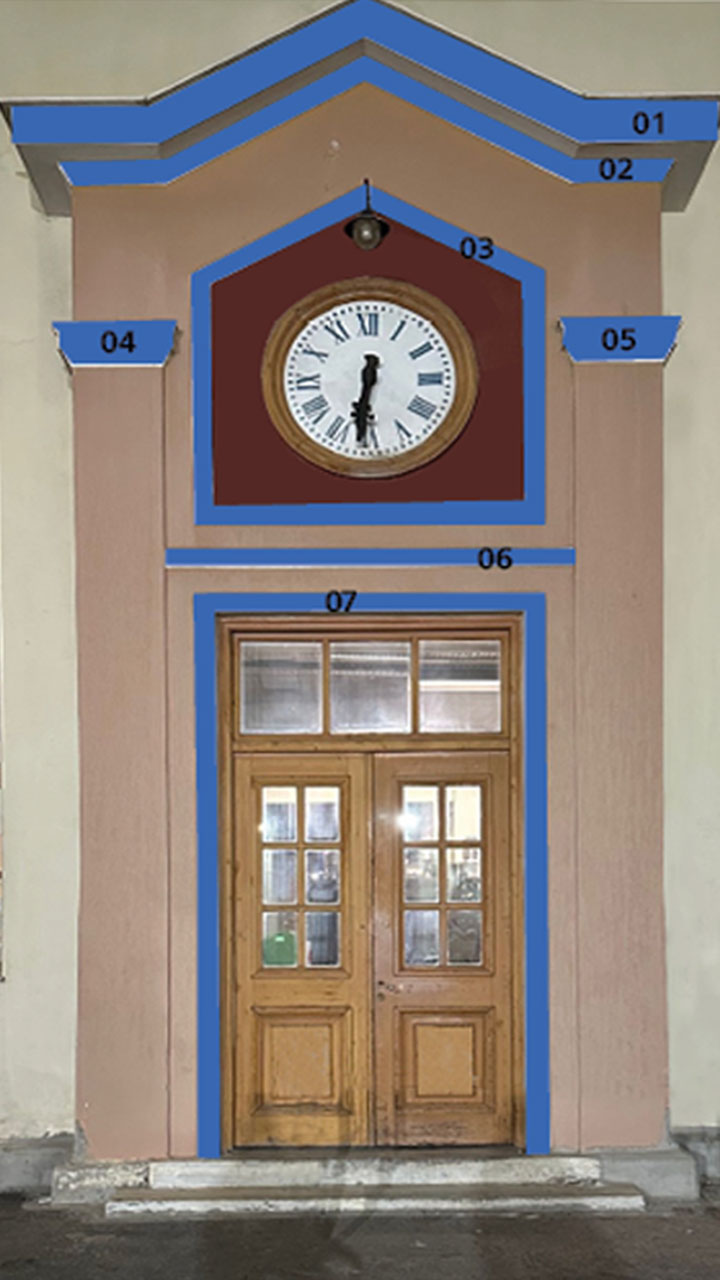
The use of the white surfaces is based on two main reasons. First, due to their high reflectivity, they ensure a clearer and sharper projection. Second, they form distinct geometric shapes that define the morphology of the gateway. Focusing exclusively on these surfaces can produce a particularly strong and minimal visual result.
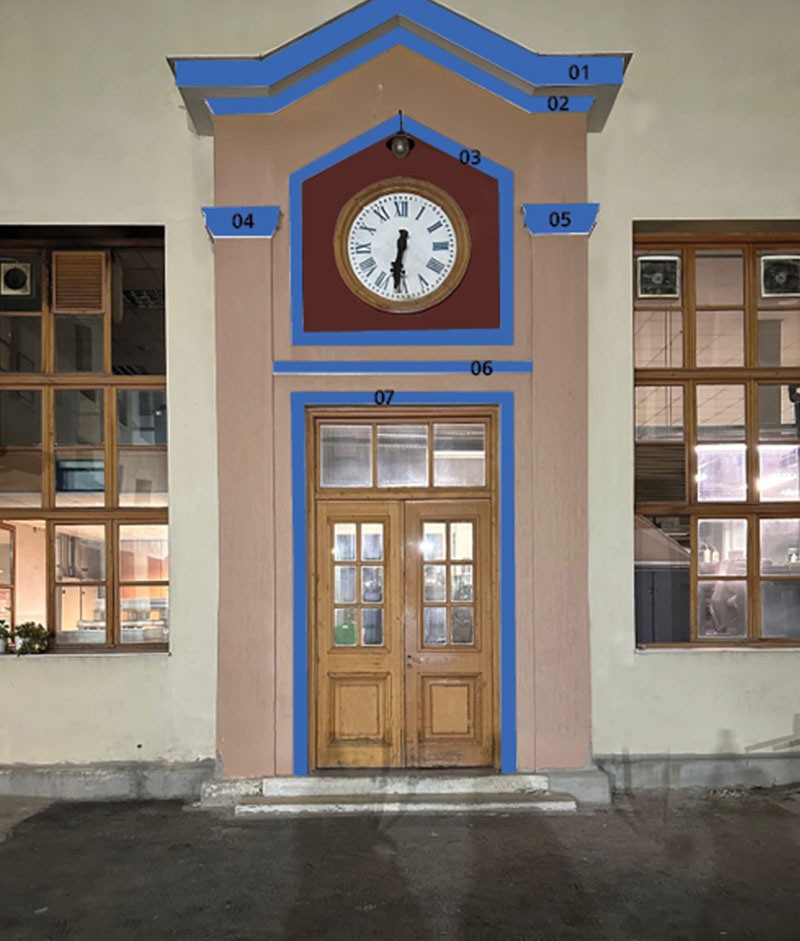
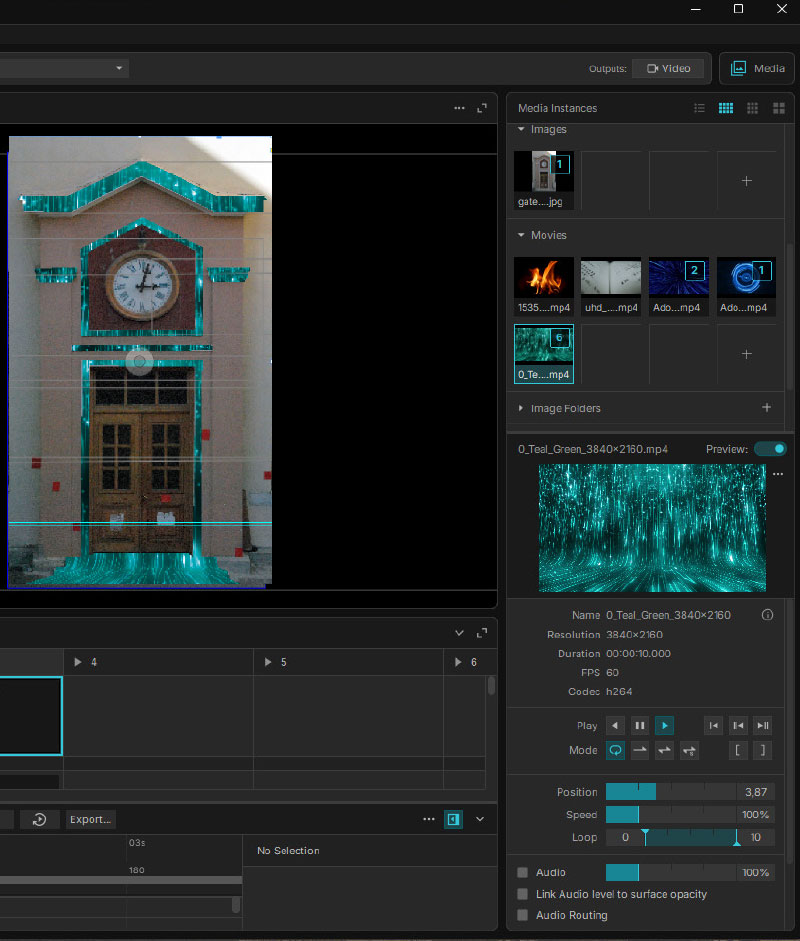
In MadMapper: Creation of a separate Quad surface for each blue area (Quad 01, 02, 03, 04, 05, 06, 07).
The process begins with 01–02–03 (upper zone), while 06–07 appear with a delayed timing, and 04–05 are displayed with lower intensity (brightness at 70%).

The import and management of the visual content were carried out within the MadMapper environment. The material included stock videos and digital effects from the Adobe library, which were selected and aesthetically adapted to the needs of the composition.

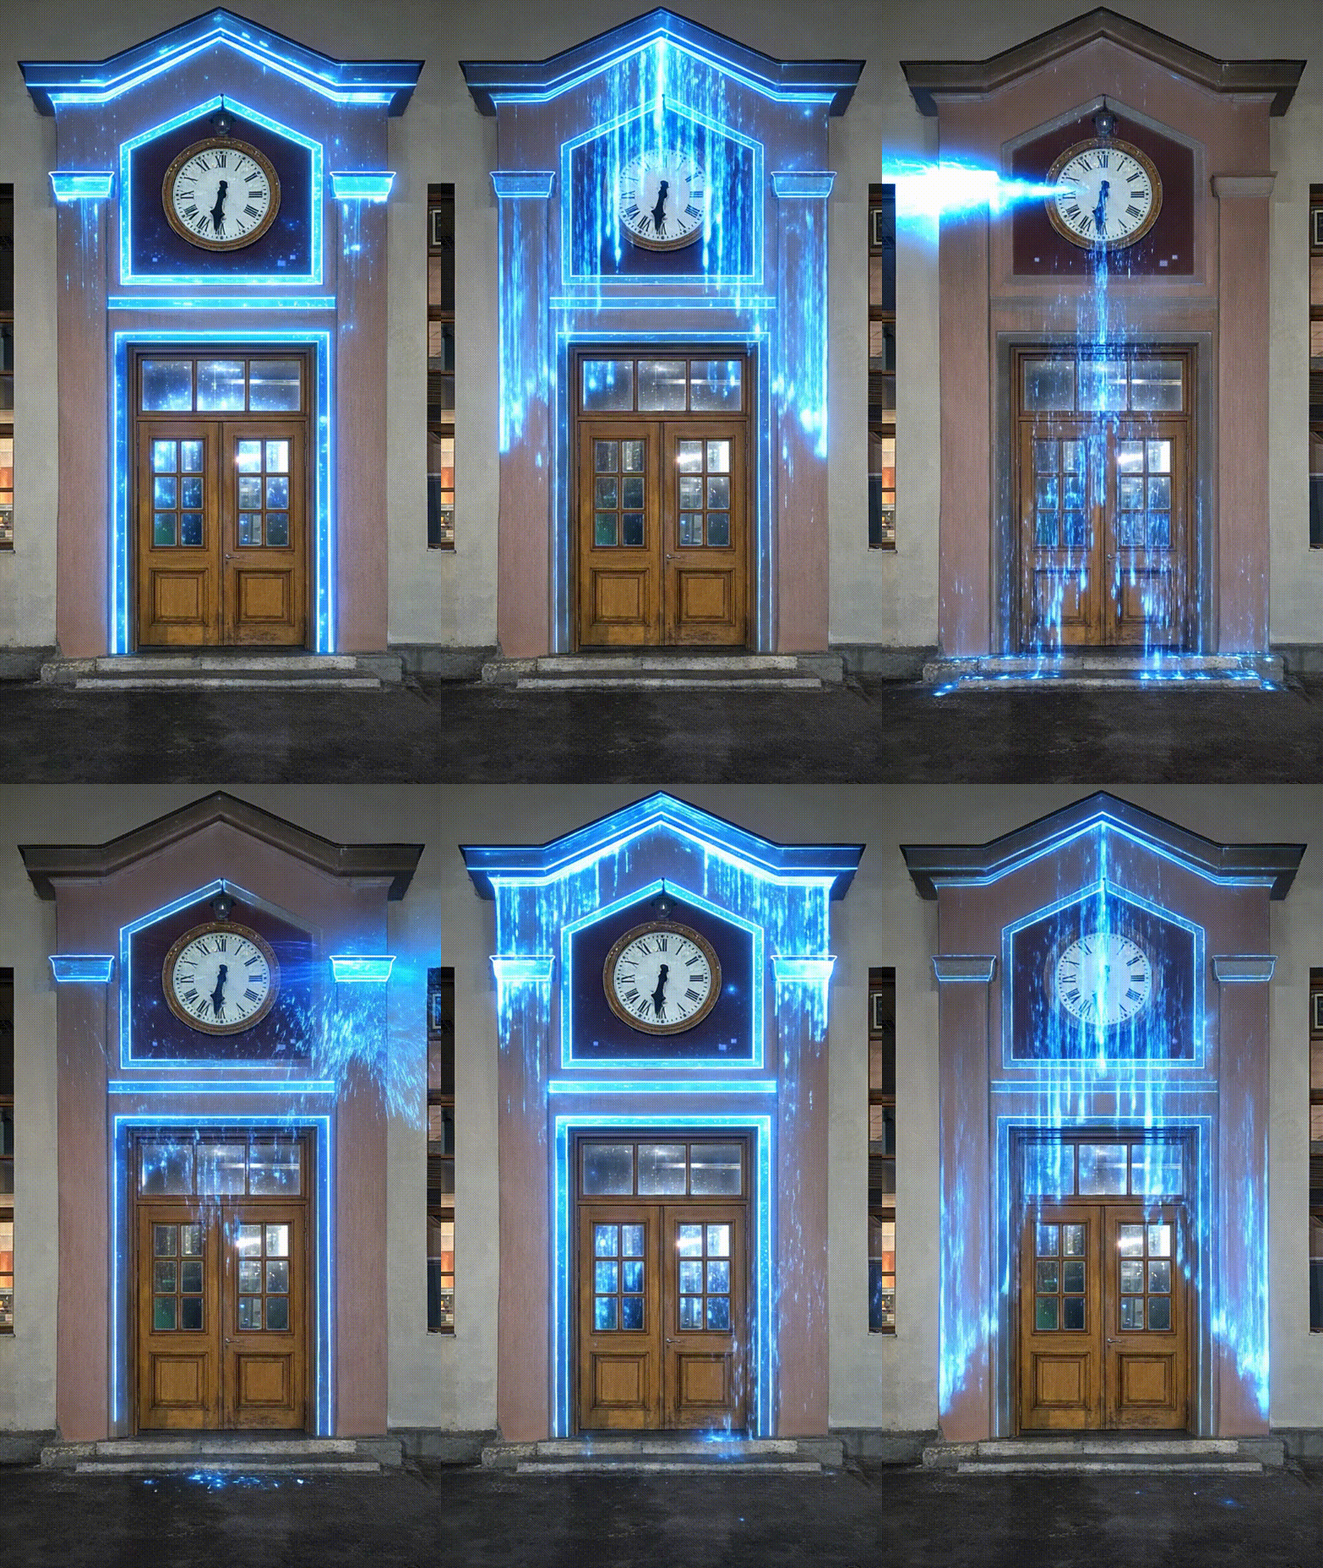
Projection Tests